Configure the Database Connection
This article describes the database definition process in the database selection step. This procedure is the same for all server configuration tools.
In this article:
Configure access to an SQL database
To configure access to an SQL database:
Specify Sql as the database type:
In the I am using an… database field, select SqlServer from the dropdown list.
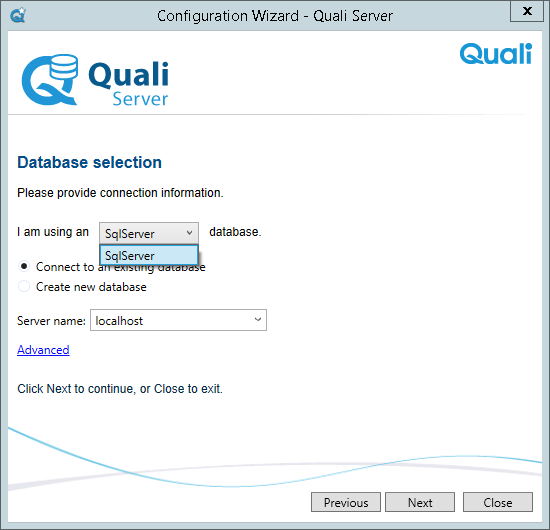
Specify whether to connect to an existing database or to create a new database.
- If you are performing an update of the product and databases are already defined, select Connect to an existing database.
- Otherwise, select Create new database.
In the Server Name dropdown list, specify the database name.
- If you chose to use an existing SQL Server or SQL Express instance during the installation process, from the Server Name dropdown list, select the SQL server instance.
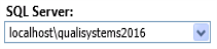
If you chose to install SQL Express 2016 SP1, in the Server Name dropdown list, verify that localhost\QUALISYSTEMS2016 is displayed:

Otherwise, select the SQL server instance from the Server Name dropdown list.
- Enter a name for the new database and click OK.
- Configure the databases manually and click OK to return to the CloudShell Configuration Wizard.
- Select the Connect to existing database option and click Next to continue.
When selecting the Create new database option, the installer creates databases with default names.
To configure the database connections manually:
Click the Advanced link to open the Advanced Database Selection window.
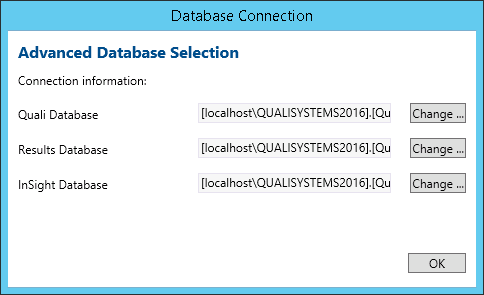
Click Change next to the required database field to open the Database Connection window.
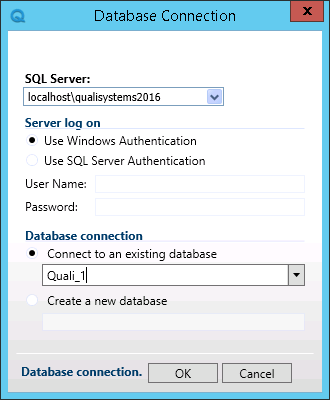
In the SQL Server field, verify that the location of the SQL server is correct.
While using the built in SQL Express installation, the SQL Server field should display localhost\<sql express instance name>. If it does not, select the SQL instance path from the dropdown list.
- Click OK.
Move SQL Server default instance's folders
In certain cases, you might consider moving the database instance to another drive, for example, due to the restricted size of the current drive. If the SQL Server default instance's folders must be moved to a different path on the same server, follow the steps in the following procedure.
To move the SQL Server default instances’ folders to a different path:
Open SQL Server Management Studio.

In Object Explorer, right-click the required server.
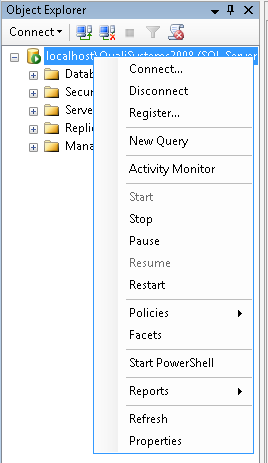
In the context menu, click Properties.
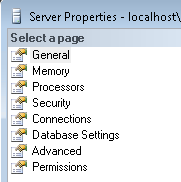
In the Select a page pane, click Database Settings.
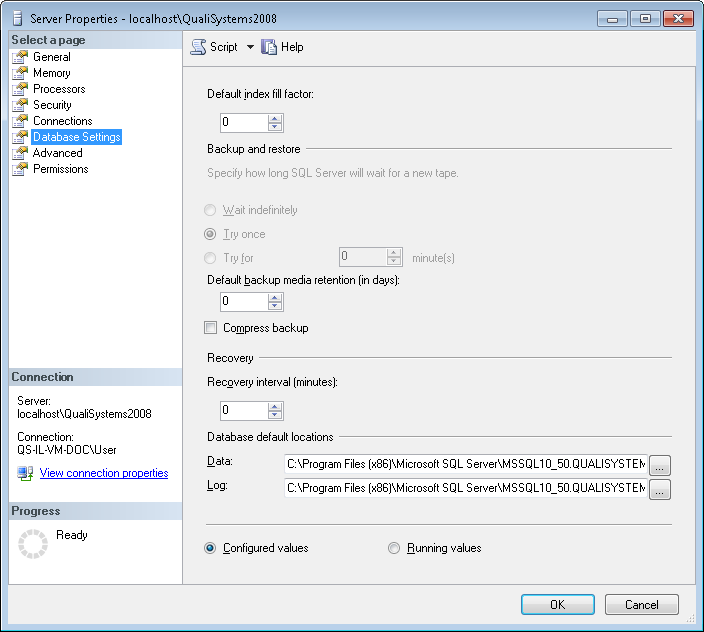
- Enter the new default pathnames in the Data or Log fields, or click the Browse button to navigate to the path.
For information on how move a system database, click this link.